Anyway. The real reason we're here today is because I have taken another idea from another fabulous online source - http://www.artisanbreadinfive.com/ . These peeps wrote the book on awesome. Well, close. They wrote a book on how to make bread (and baguettes - and bagels - and carbohydrate heaven) like those jolly singing and dancing bakers in Beauty and the Beast. ("Marie, the baguettes, hurry up!")
Now I know what you're thinking. You're all like, "Pink, what the heck. You think I have like five hours in my day where I'm doing nothing so I can just flit around my kitchen watching bread rise, punching it down, timing it, singing in French and all the rest. What EVER!" Yeah, I've been there. I've made bread The Other Way (a.k.a. The bad way.). Well, minus the French. I sing in español.
No really, this is different. I promise. You just watch me, okay? Then you can see. You can try it. You will be very popular around your house. You might even get the special eyebrows just for making this. Unless you don't want the special eyebrows. Then you can threaten - no more homemade bread - stay back, eyebrows!
All right. On to the awesome.
Step 1: Get stuff you need. What do you need? Violá.
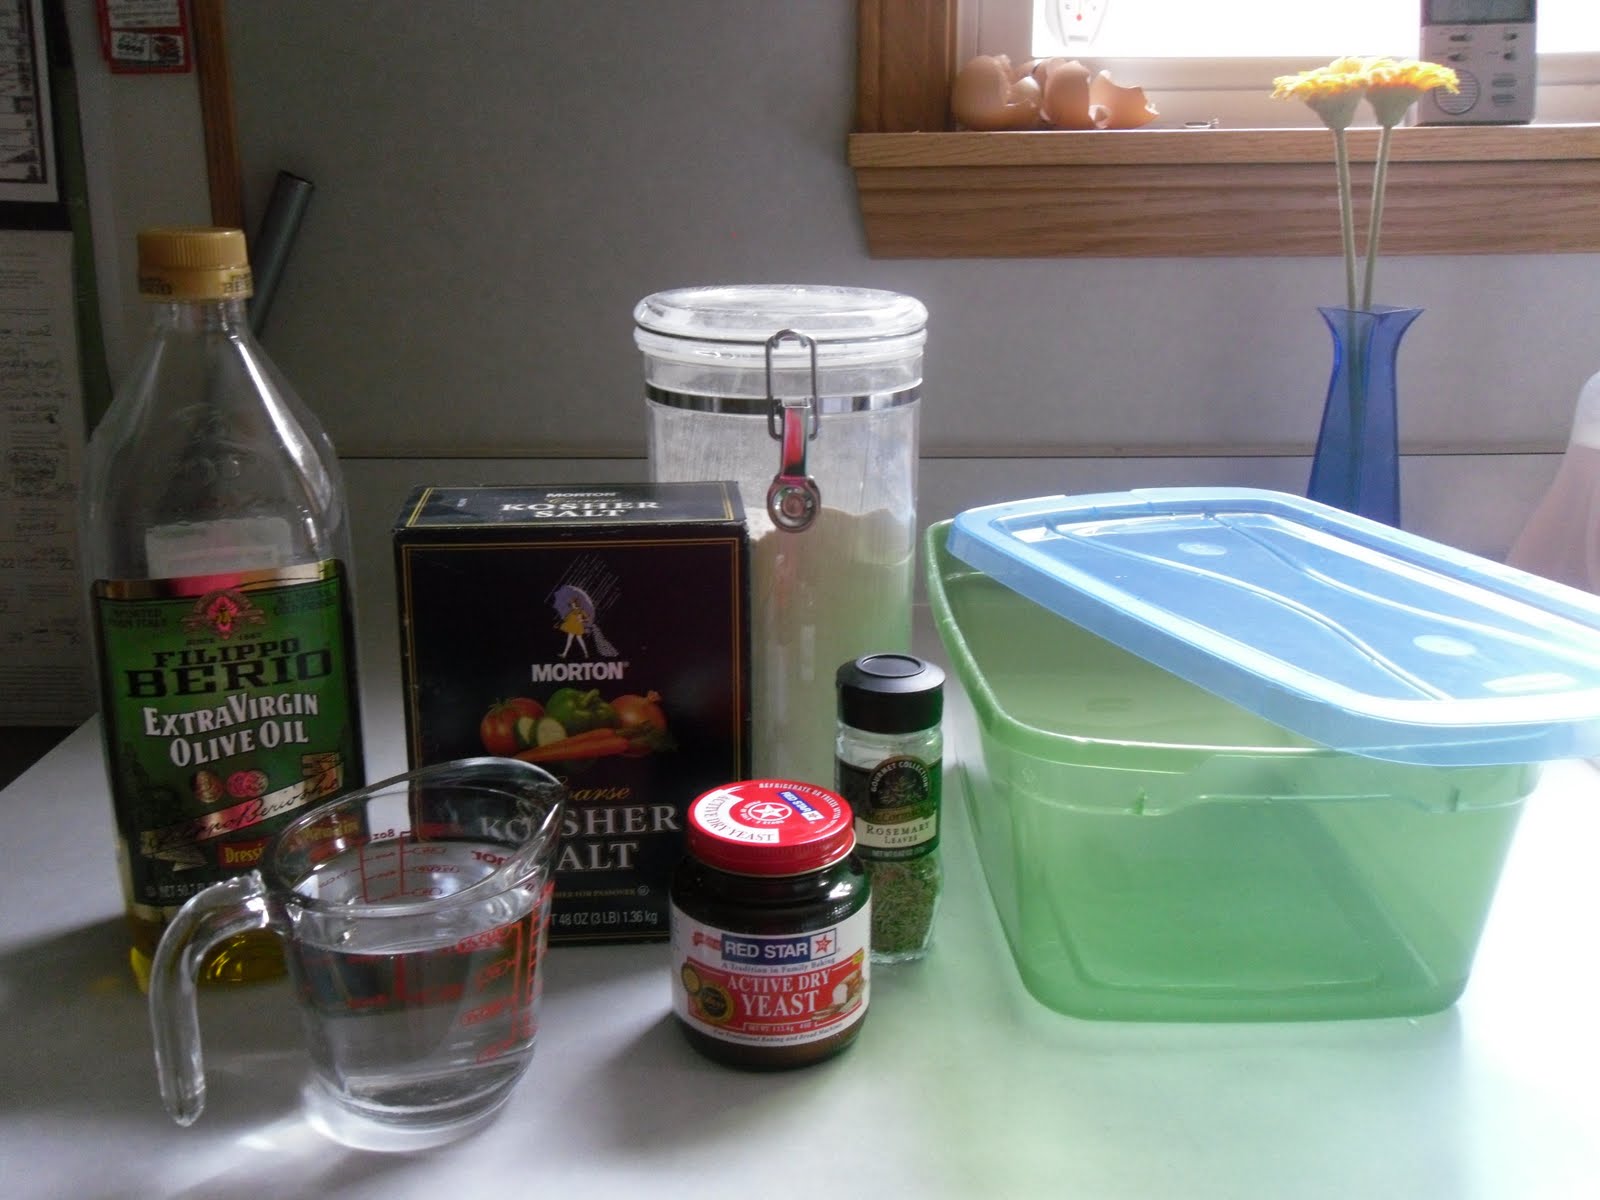
EVOO, warm water, coarse Kosher salt, granulated yeast,
flour, rosemary, a strange container (6 quarts).
Not pictured: a baking stone, a fork, an oven, a broiler pan, parchment paper.
(Yes, the eggshells on the windowsill are getting ready to get smashed and go on my face.)
To be exact:
1.5 Tbsp. granulated yeast
1.5 Tbsp. Kosher coarse salt
6.5 cups all purpose flour (go get King Arthur, he's so worth it.)
3-ish to 3 and a half-ish cups of warm water (not too hot, you'll kill the yeastie boys)
a blob of rosemary
another blob of extra virgin olive oil
Now about the weird container. On their website, they can show you their fancy container. I am not fancy when it comes to this container. I went to the Buy Everything Here store and bought a Rubbermaid storage container. It has to be able to hold 6 quarts. Then I poked holes into the top where the plastic maker thingy company shot out their plastic out of their mold. This is actually important. You have to let the gases escape, so go on, get some scissors or some other pointy object (ooh, wouldn't one of those old school compasses come in handy!) and dig a hole. Not giant, but it has to be there. Unless you like explosions, whatever.
 |
| Oooh! A hole in the lid! (Really there are 2.) |
2. In your weird container, dump 1.5 Tbsp. of granulated yeast and 1.5 Tbsp. of Morton's Kosher (coarse) salt. Add 3ish cups of warm water (REMEMBER - not too hot. Don't kill the Yeastie Boys.). Stir lovingly. Garnish lavishly with rosemary (whatever amount you want), pour in extra virgin olive oil - with a flourish (also whatever amount you want).

Okay, we are sideways. Ahem, here we have: salt, yeast, water,
a blob of rosemary and a blob of EVOO.
3. Stir wildly with a fancy fork. Sing. If you can't think of a song, "la la la la!" loudly will do just fine. Carelessly dump 6.5 cups of that King Arthur all-purpose flour, making sure to make noises as each 1/2 cup hits the pool. Stir rashly with previously mentioned fancy fork.

4. Slightly mash to partial flatness. Put the specially poked hole lid on. Let it sit there for two hours. (Yep, told you. Really hard.)

Woo! I'm lidded!
5. After two hours, you can grab some dough out of the batch (it will have risen to the top). If you are so tired out from all of this hard work and just want to go to bed, put the container into the fridge. You can keep it in there for a few weeks and keep pulling out dough when you want to use it. The longer you leave it in there, the more sourdough it will become (a.k.a. it smells like beer/alcohol.).
So, let's pretend you put it in the fridge and you wake up and say, "Golly, Wally! Gee whiz, I just want to bake some fresh artisan bread today!" All you need to do now is dust the top with flour (so you're not too sticky when you grab it). Pick up about a third of what's in there. Make a ball out of it and toss it on some parchment paper. Actually, you know what, just watch this video. They're amazing.
You can slash your bread to make it look like you bought it from the store. I'm sure there's a good reason for doing this, I just don't know what it is. I'd like to make it up but the kids are being so loud that I can't even come up with a fantastically ridiculous reason. By "slash" I mean: get out a sharp knife, make lines in it.

Lines! Glory hallelujah!
After your bread has rested (it's very tired) for about 45 minutes or until you remember it and can feel like messing around with it, put that oven on for 450 F. Make sure your baking stone is in there near the middle. The broiler pan (or metal pan of other sorts) should go on the rack underneath the baking stone's rack.
Do you have a pizza peel? It's one of those wooden things that you see pizza dudes shoving their pizza into the oven with. If you have one, slide it under the parchment paper then use it to slide the stuff onto the baking stone. Leave the parchment paper there. It's not a big deal. It likes it in the oven. If you use waxed paper instead, you will shoot yourself. Don't get it mixed up. Shut the oven. (It's supa doopa important to keep the oven temp up.)
 |
| Pouring hot water into an oven is hard to do when you're taking a picture. Avoid. Now for awesomeness. Get a cup of hot water and pour it into the metal pan. You will create steam inside your oven like you're a wizard. Shut that door and trap the steam. This is what makes a crunchy crust and a soft middle. Bake your precious darling baby boule for about 25-30 minutes. |
Cool on a rack. Chop off anybody's hand who tries to cut it open and eat some. It actually has to cool down before you cut it because the steam inside the crust cooks the rest of the bread inside. If you cut it now, you will have a great crust and a puddle of goo inside. Not eyebrow worthy at all.

Every day you can make some more. It's divine as sandwich bread - a little Everroast (by Boars Head), a dab of mayo, some Mucky Duck and some organic romaine. Delish. What creative sandwich would you make with this bread?
And if you think that even bread won't solve the serious problem you're having with your hubby, you really should talk to someone. Don't be selfish (if you just said, "HEEE's the selfish one!", you might want to climb down off of your throne and remember what God has done for you.). Don't take the best piece of bread for yourself. Share, baby, share!


